A simple way to straighten a turning frame
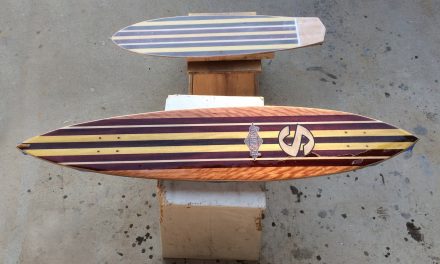
If you are a commercial producer of wooden surfboards, you probably have an elaborate setup to control every piece in the puzzle, keeping them all precisely in place until construction is complete.
On the other hand, if you only intend to build one or only once in a while, your work station may be a simple-but-sufficient main spine with limited bracing. And, even though you are diligent in mounting stringer and ribs with exact 90-degree connections and balance-bubble confirmed crossings, heat, humidity, and time can cause the wood grain to twist.
Ignoring that is not an option. The resulting board would surf awkwardly–if at all. Also, consider the board’s appearance. It would embarrass even the most brazen among us.
Straightening an out-of-wack frame is fairly quick, simple, and inexpensive. The method described here relates to the work stand constructed in the book, “How To Build The World’s Most Incredible Wooden Surfboard.” If you have a different work stand, this method can be modified to suit it.
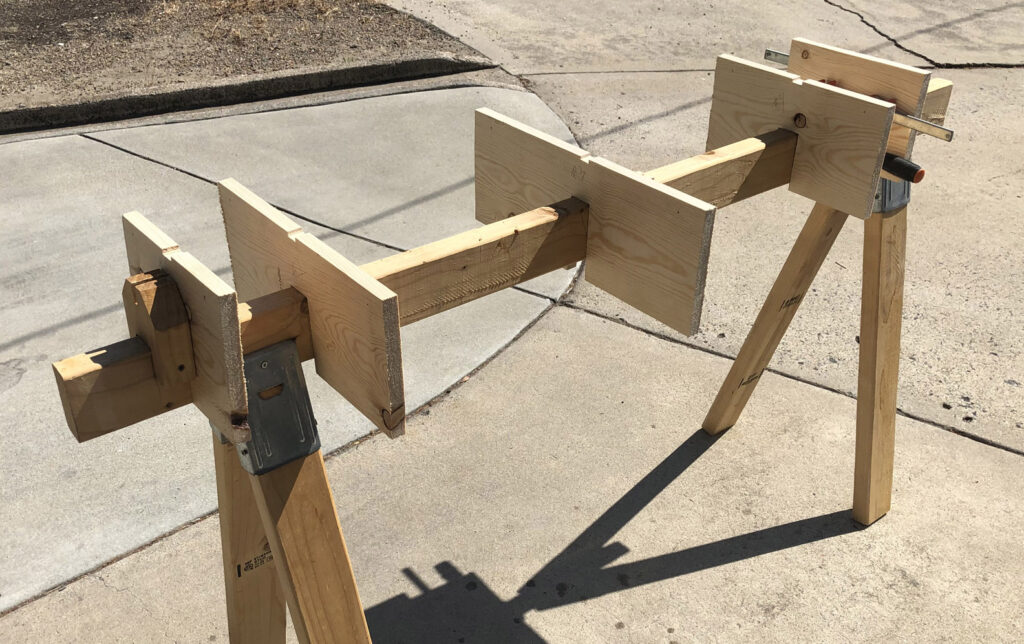
The first step is to purchase a pine plank at 11.5 inches x .75 inches x 8 feet. Six-foot-length probably would be enough. The difference in price, however, makes the longer piece more economical. The cost difference would pale in comparison to money needed to buy a second board if you ran short. Chances are you will be able to make use of any leftover lumber, too.
Cut the plank down to make pieces matching the lengths of the ribs in the first, second, center, second to last and last positions. Cut a notch on the bottom of the plank pieces that matches the width of the work stand spine. The plank pieces will slide over and rest on the spine.
The tricky part of this evolution, is to cut the depth of the notches so the tops of the plank pieces reach a height that properly accommodates the rocker of the surfboard stringer.
When done correctly, each plank piece will rise to exactly meet the lower edge of its corresponding rib.
Another consideration is the fit of the notch carved from the bottom edges of the planks. The angle of the opening should align with the stringer so as to ensure the tops of all the plank pieces will be level down the length and width of the spine.
If necessary, the notch can be cut slightly larger than the width of the spine to allow some wiggle of the plank. When a level position is achieved, support blocks can be glued to the plank to make the angle of the piece permanent.
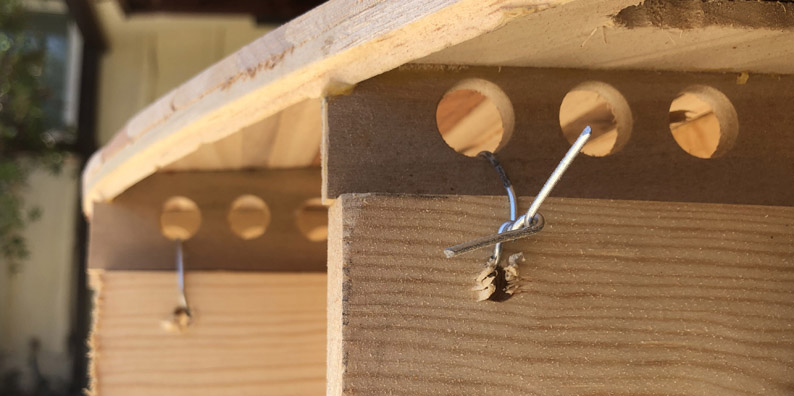
With all the plank pieces in their necessary, level and rib-reaching positions, mark the planks with a pencil about one inch from the top edge and directly below the outer-most “0” opening at the ends of the ribs. A quarter-inch drill bit will make a suitable hole through the pencil marks.
Get some wire weak enough to bend without tools but stiff enough to hold its shape. Snip several inches of wire and run it through the outer rib “0” and around and through the plank hole directly below.
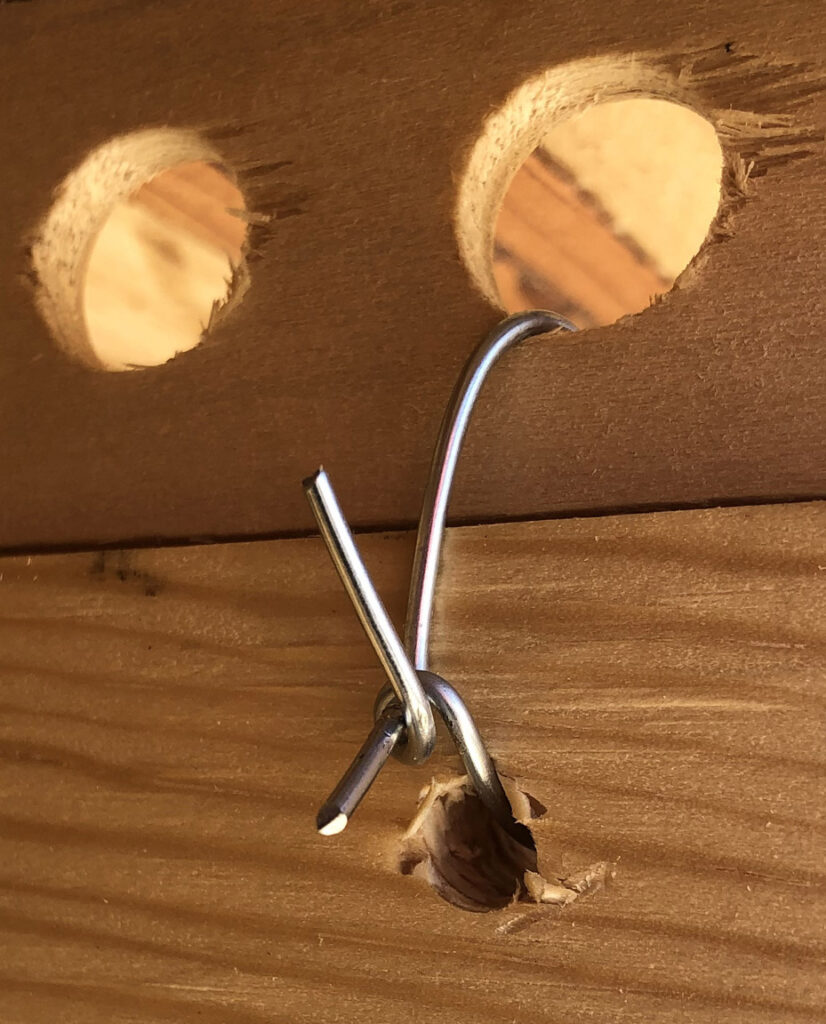
Wrap the wire ends gently to pull the rib down to meet the plank. Beware, over-tightening can snap the thin-wood rib. The twist in the frame should provide little resistance.
Repeat the process for each designated plank’s outer edge, mounting it flush to its corresponding rib. The surfboard frame should now be level and straight. The next step will ensure it stays that way for the rest of the build.
Mix a total of two ounces of epoxy resin and fast hardener. Resin research is excellent for this and for fiberglassing later to finish the board. This brand has a substantial amount of UV inhibitors and pot life is plenty for a no-rush evolution.
The total amount of resin needed for this task will vary depending on your project board’s length. Begin with two ounces, knowing you can mix more if necessary, still without rushing the job.

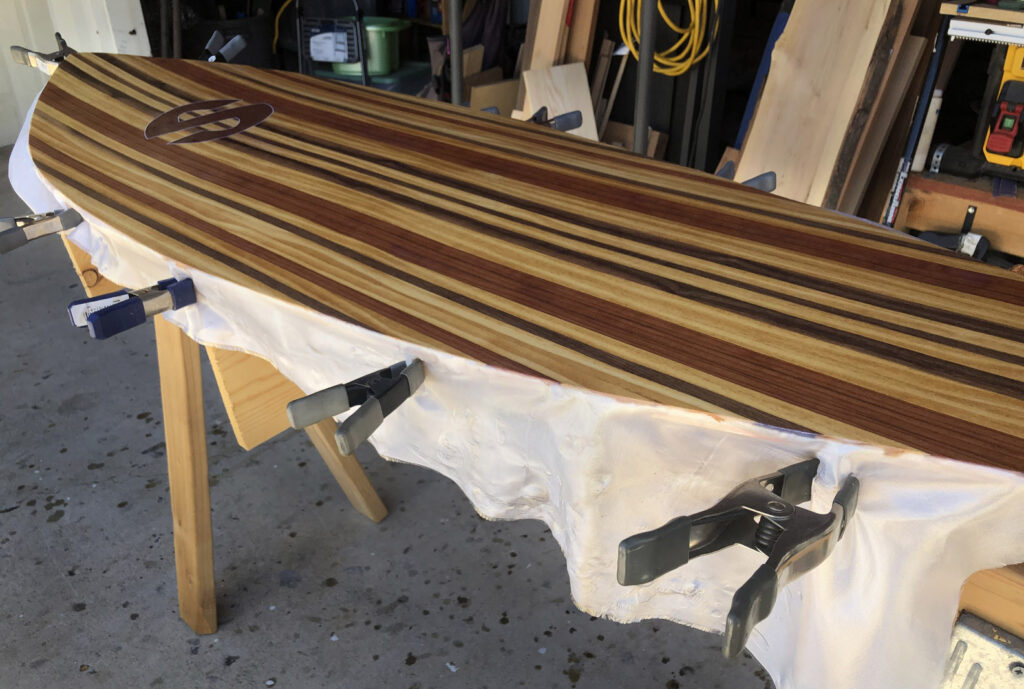
This well-mixed resin gets spread extremely thin. It’s just a sealer coat, filling the pores of the wood. So, smear the deck with the liquid using a plastic spreader. An old, exhausted gift card works well, too. When you see the wood looks wet (gets richer in color), it has received enough resin. Don’t put it on thick enough to be a “layer.” That would be unnecessary extra weight. Push all excess liquid off the board and into a waste-catching cup.
Let that sit for a few hours in normal temperature and humidity. Touch the deck to check for stickiness. If it’s tacky, wait. When it is totally dry, apply any logo stickers you want to emblazon the deck.
Roll a 1.5-ounce fiberglass cloth over the deck, covering it completely, with overhang all around the outer edge. Mix more resin and hardener to make about three ounces total. When the liquid is thoroughly mixed (more than one minute), pour the resin onto the center of the cloth-covered board.
Slowly spread the liquid to wet out the entire surface. Avoid pushing resin over the edge, except in one place to move excess liquid back into the cup for disposal.
Be gentile. Aggressive spreading will create thousands of air bubbles in the laminate. Together they will create an undesirable, cloudy, diffused finished on the once-colorful wood.
Remove surplus resin until there are no shiny spots (pooling) on the deck. Let the project sit unmolested for about two hours in average temperature and normal humidity.
Touch resin on the overhanging cloth. If it has firmed up, use a sharp utility knife to trim along the wooden deck’s edge all the way around. Let the laminate continue to cure for another 24 hours.
You can wait a couple more days, if you have doubts about the completeness of the resin’s hardening.
Take a sanding block with 80-grit paper to the perimeter. Smooth the rough edge left by the utility knife.
Now you can untwist the wiring that secured the ribs to the pine plank pieces. The laminate should hold the level shape and resist further twisting while the build continues to completion.


